
Introduction
Having issues with WordPress emails not being delivered? The best way to fix this is by using Gmail SMTP, which ensures your emails are sent securely and reliably. In this guide, we’ll show you how to set up and configure Gmail SMTP in WordPress using the WP Mail SMTP plugin.
Why Use Gmail SMTP for WordPress Emails?
WordPress by default uses the PHP mail() function to send emails, but this often leads to delivery issues. By setting up Gmail SMTP, you get:
- Better email deliverability
- Improved security
- Authentication with OAuth 2.0 (instead of storing passwords in WordPress)
Follow this step-by-step guide to configure Gmail SMTP properly.
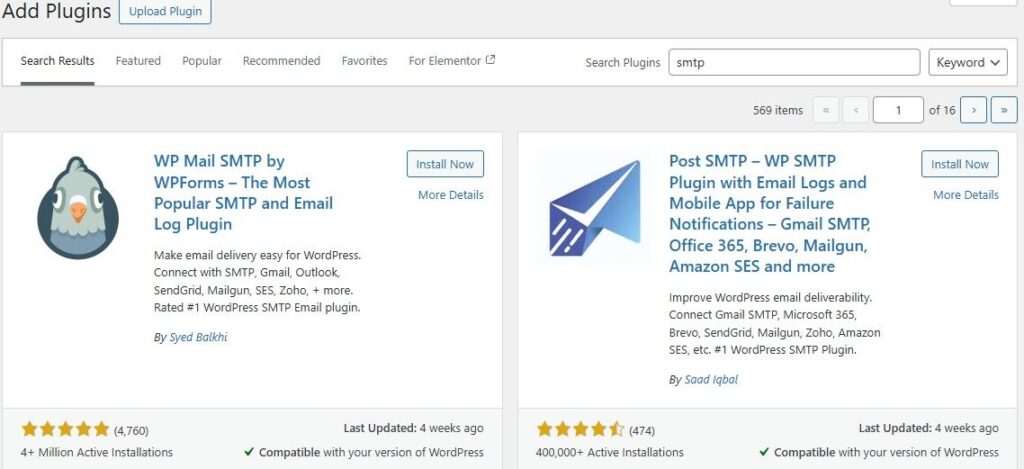
Step 1: Install WP Mail SMTP Plugin
- Login to WordPress Admin Panel
- Go to Plugins > Add New.
- Search for WP Mail SMTP by WPForms.
- Click Install Now, then Activate
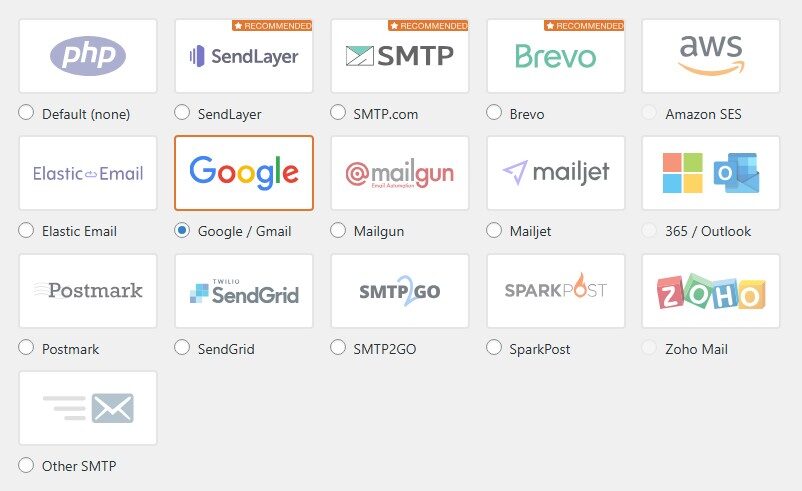
Step 2: Configure WP Mail SMTP Settings
- Go to WP Mail SMTP > Settings.
- Under Mailer, select Google / Gmail.
- Click Save Settings.
Step 3: Create a Google Cloud App for Gmail SMTP
To use Gmail SMTP, we need to create a Google Cloud App and enable the Gmail API.
3.1 Enable Gmail API
- Open Google Cloud Console.
- Sign in with your Gmail account.
- Click Select a Project > New Project.
- Enter a Project Name (e.g., “WordPress Gmail SMTP”) and click Create.
- Go to Navigation Menu > APIs & Services > Library.
- Search for Gmail API and click Enable
3.2 Set Up OAuth Consent Screen
- Go to APIs & Services > OAuth Consent Screen.
- Select External and click Create.
- App Name: “WordPress Gmail SMTP”
- User Support Email: Your Gmail address
- Developer Contact Email: Your email
- Click Save and Continue (leave other fields as default).
3.3 Generate OAuth Credentials
- Go to APIs & Services > Credentials.
- Click Create Credentials > OAuth Client ID.
- Under Application Type, select Web Application.
- Enter a Name (e.g., “WP SMTP”).
- Under Authorized Redirect URIs, add:
https://connect.wpmailsmtp.com/google/ - Click Create and copy Client ID and Client Secret.
Step 4: Configure WP Mail SMTP with Gmail Credentials
- Go back to WP Mail SMTP > Settings.
- Under Google / Gmail, enter:
- Client ID (from Step 3.3)
- Client Secret (from Step 3.3)
- Click Save Settings.
Step 5: Connect Gmail with WP Mail SMTP
- Click Allow plugin to send emails using your Gmail account.
- Sign in with your Gmail account.
- Click Allow to grant permission.
- Click Complete Connection.
Step 6: Send a Test Email
- Go to WP Mail SMTP > Email Test.
- Enter a test email address.
- Click Send Email.
- Check your inbox to confirm delivery.
Conclusion
By setting up Gmail SMTP, your WordPress emails will be sent securely and reliably. This guide ensures that your site’s contact forms, notifications, and transactional emails reach inboxes without issues. 🚀


